
日本語は下にあります。
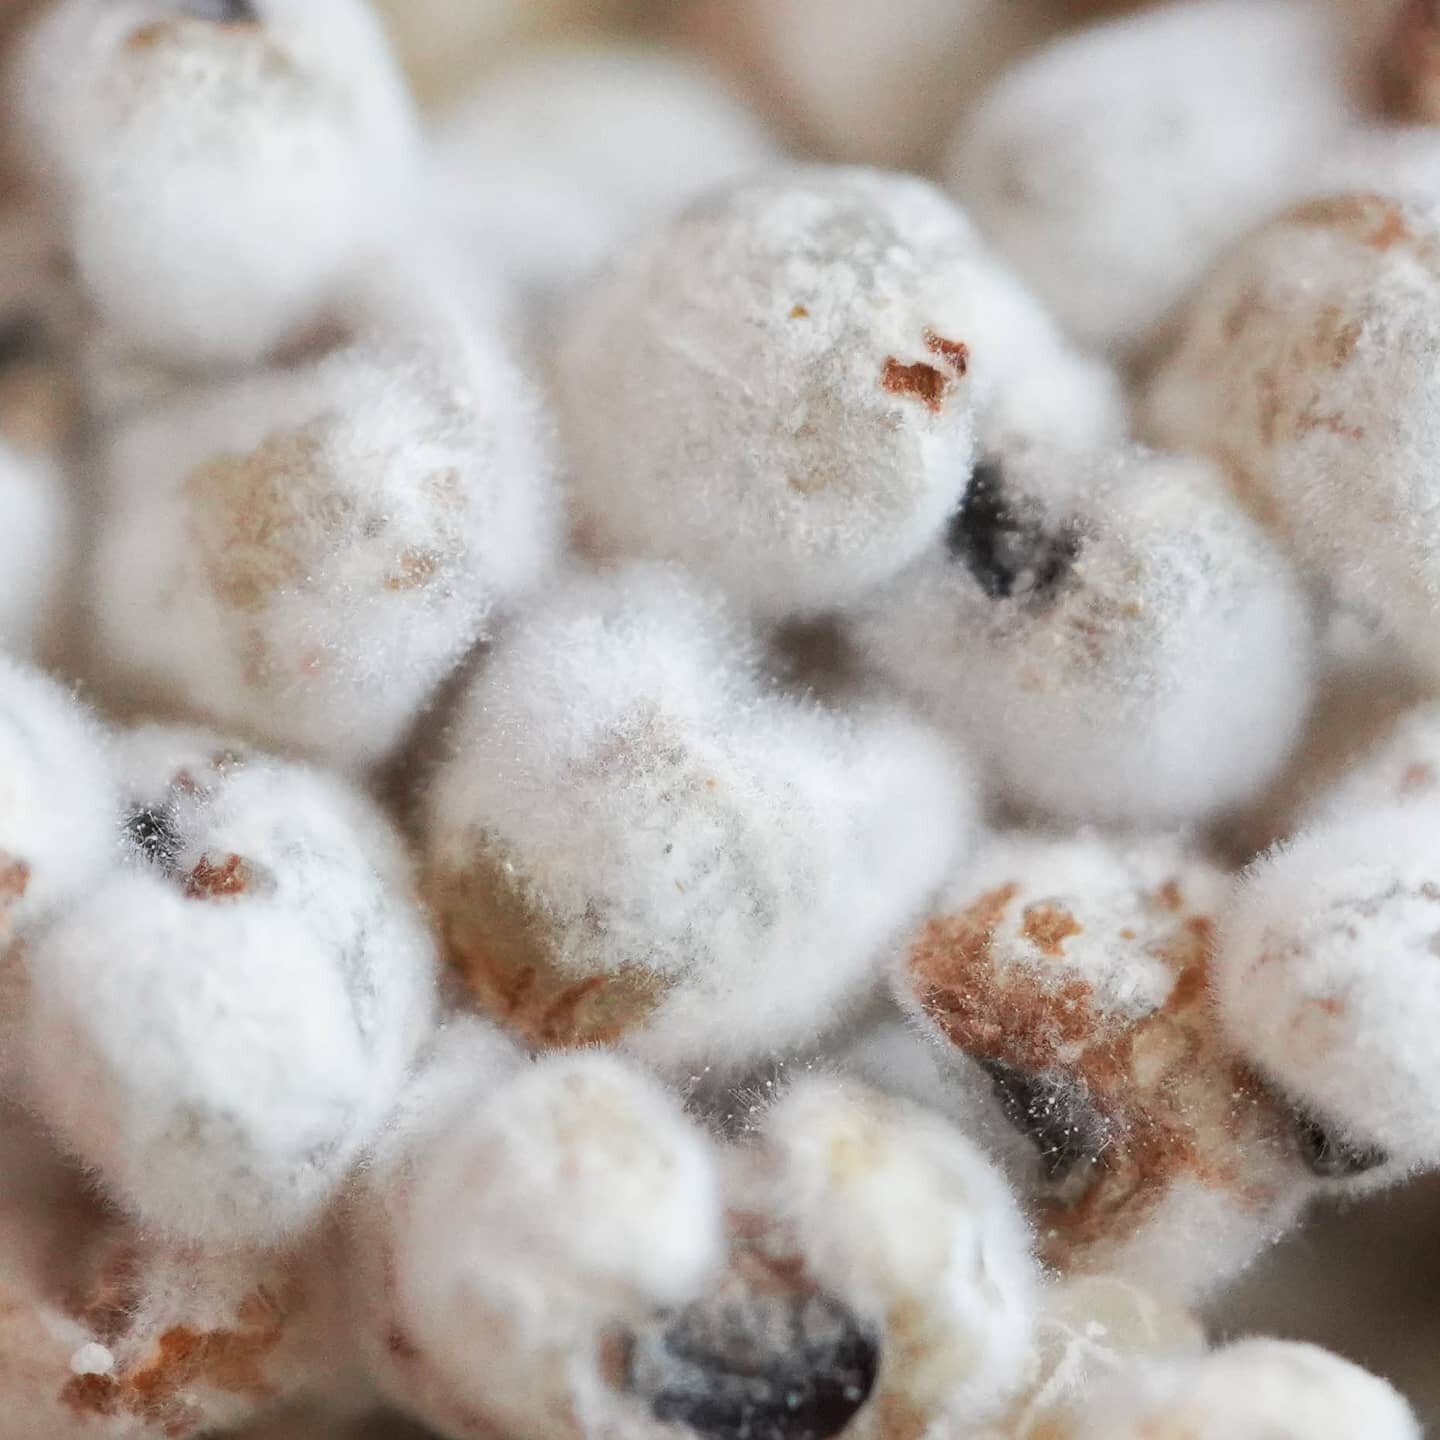
With the popularity of salt koji that made koji a more familiar term, now even outside of Japan, we are able to purchase koji in Japanese and other Asian grocery stores.
But the tastiest and best salt koji is of course the homemade kind!
Today I want to explain how to make such delicious salt koji at home.
-
• Rice Koji - 400g
• Salt - 160g
• Water - 800ml
-
Sanitize a container with a lid that you will use to store the Koji by pouring boiling water over it.
In the sanitized container, dissolve the salt in warm water (approx. 95°F / 35°C).
Add the Koji to the salted water and mix gently.
Choose your preferred fermentation method (see Notes below):
•Room Temperature Method: Cover with a lid and let ferment for 7 to 10 days, mixing gently once a day.•Warm Incubator Method: Use an incubator or yogurt maker set to 130–140°F (55–60°C) for about 8 hours.
Once the Koji grains become soft enough to crush easily between your fingers, puree it in a blender if you prefer a smooth paste.
-
CHOOSING YOUR METHOD & ENZYMES
The proteolytic enzymes that create umami thrive at temperatures around 85–100°F (30–40°C), while traditional incubator methods use around 130–140°F (55–60°C) to speed up the process safely.
Whether you choose a warm incubator for quick, safe results in about 8 hours, or take your time with a traditional room-temperature ferment over 7 to 10 days, both methods create wonderfully active enzymes. If you go the room-temperature route, giving it a gentle daily stir is a wonderful ritual that connects you to centuries of kitchen wisdom. Choose the method that fits your lifestyle!
I often hear, “I’ve made delicious salt koji, but I don’t know how to use it. It’s just sitting in my refrigerator.”
Cooking with salt koji is not difficult. If you marinate fish, meat, or vegetables in salt koji equivalent to 8~10% of the weight of the ingredients, you’ll very easily have a tasty dish.
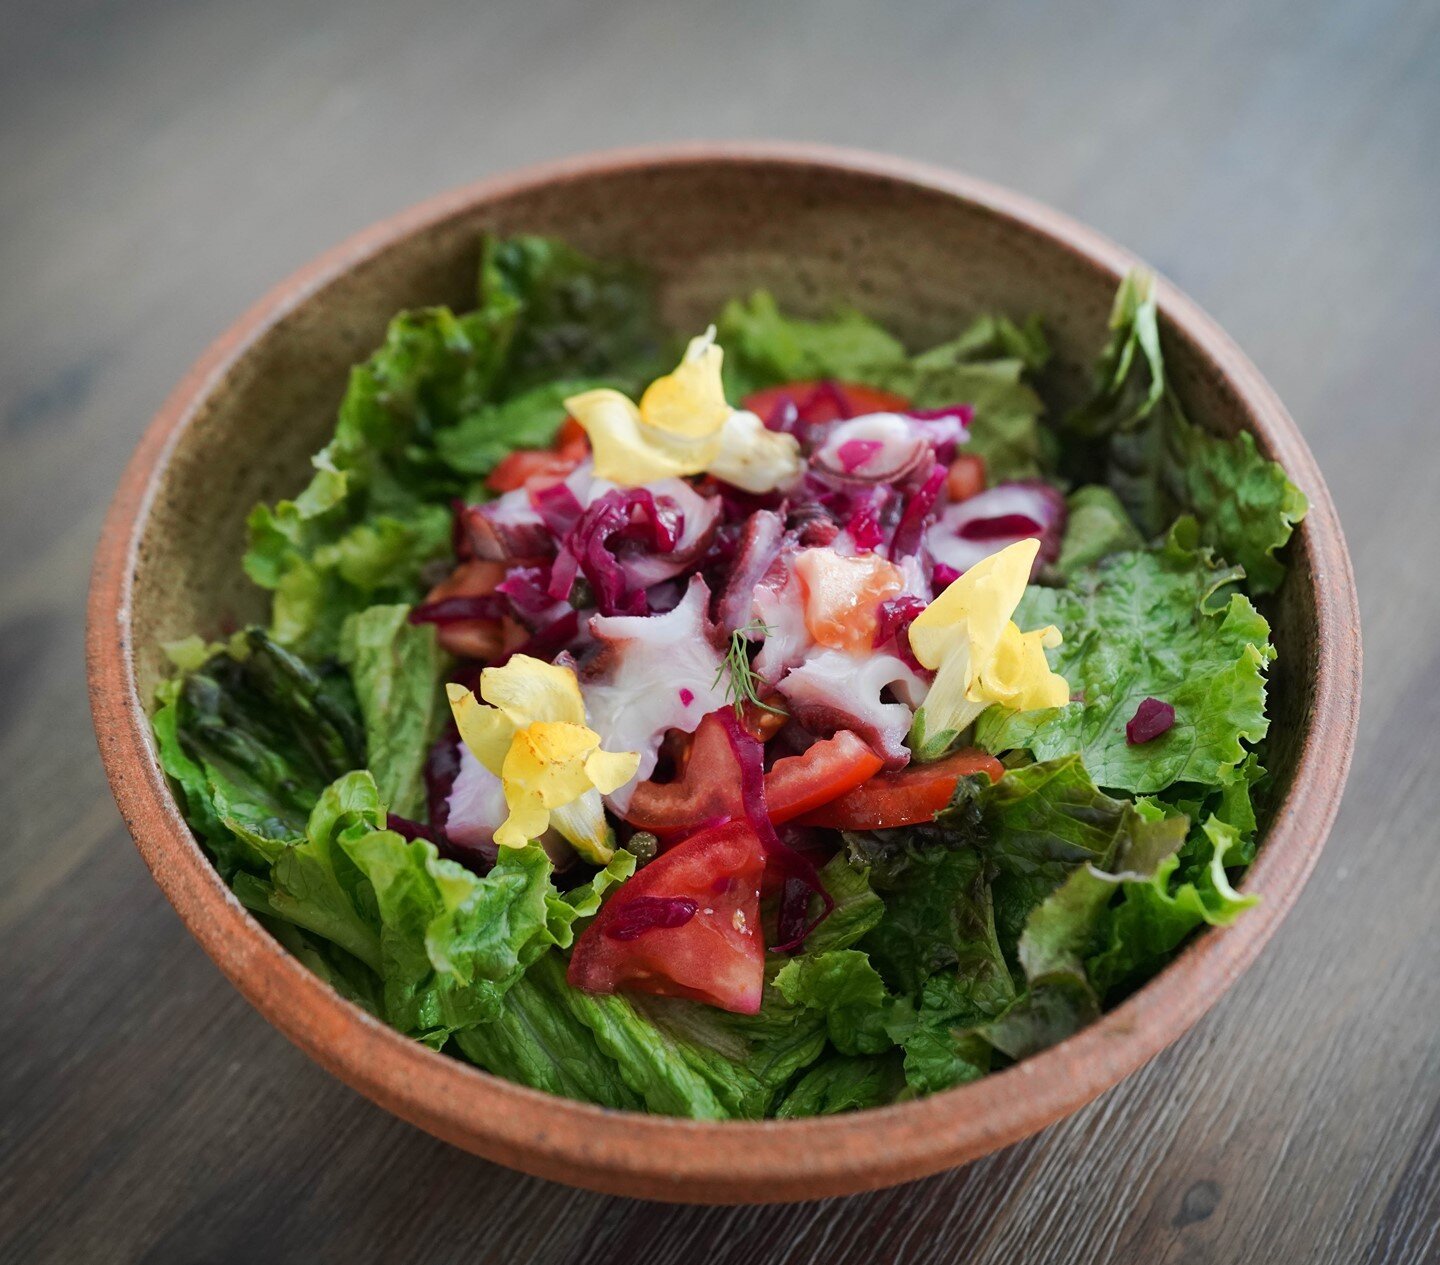
You really can use shio koji in almost anything. Try it on chicken, fish, mushrooms, vegetables, or even in a simple dressing. It adds savory depth and makes everyday cooking a little more delicious. Start with one small spoonful and see where it takes you.
A small kitchen note: Shio koji is not ideal for every ingredient. Because its enzymes can soften starch, cooked rice, potatoes, and noodles may become mushy if they sit with shio koji for too long. If you use it with starchy foods, use a small amount and cook them soon. It works especially well with meat, fish, mushrooms, and vegetables.


麹を世の中に知らせるきっかけとなった塩麹ブーム、今では海外の日系・アジア系マーケットでも手に入りやすくなりました。
しかし、一番美味しい、自分好みの塩麹を作るのはやっぱり手作りが一番です!
今日は、おうちで簡単にできる美味しい塩麹の作り方をご紹介します。
-
米麹400ℊ
塩160ℊ
水800㎖ -
保存容器をしっかりと熱湯で消毒する。
消毒した容器に塩とお湯(約35℃)を入れ、よく溶かす。
塩水に麹を加えて優しく混ぜ合わせる。
お好みの発酵方法を選ぶ(下記のノート参照):
•常温発酵の場合: 蓋をして7〜10日間、1日1回クルクルと優しく混ぜながら発酵させる。
•加温(保温器)の場合: 保温器やヨーグルトメーカーを55〜60℃に設定し、約8時間でスピーディーに仕上げる。
麹が指で簡単に潰れる柔らかさになったら、お好みでブレンダーでピューレ状にする。
-
発酵方法の選び方と酵素について
うまみを作り出すプロテアーゼ(タンパク質分解酵素)は、30〜40℃の環境で活発に働きます。また、保温器を使って55〜60℃前後で一気に、かつ安全にスピード発酵させる方法も、酵素をしっかりと活かす素晴らしい知恵です。
忙しい毎日の中でスピーディーに作りたいときは保温器(約8時間)、丁寧な発酵のプロセスを楽しみたいときは常温(7〜10日間)。どちらの方法でも、酵素がたっぷり詰まった美味しい塩麹が完成します。ご自身のライフスタイルに合った方法で楽しんでくださいね!
塩麹の使い方
「美味しい塩麹を作ったけれど、どう使ったらいいか分からず冷蔵庫に眠っている」という声をよく耳にします。
塩麹を使ったお料理は難しくありません。食材の重量の8~10%の塩麹を魚、肉、野菜などに漬け込んでおくだけで、驚くほど美味しい一品ができ上がります。
塩麹は、ほとんどどんな料理にも使えます。鶏肉や魚、きのこ、野菜に漬けたり、ドレッシングに加えたり。いつもの料理に少し使うだけで、うまみと奥行きが加わります。まずはスプーン1杯から、いろいろ試してみてください。
ちょっとした台所のメモ: 塩麹は、すべての食材に同じように向いているわけではありません。酵素の働きで、炊いたご飯、じゃがいも、麺などのでんぷん質の食材は、長く漬けておくとべちゃっとした食感になりやすいです。でんぷん質のものに使う場合は少量にして、漬けたら早めに調理しましょう。肉、魚、きのこ、野菜には特に使いやすい調味料です。